If your makeup is scattered across your bathroom counter or shoved in a drawer you can’t see into, these makeup vanity ideas will change how you get ready every morning. From floating vanities with built-in lighting to corner vanities for small spaces, these bedroom and bathroom vanity setups combine smart organization with aesthetic appeal. Whether you’re working with an Ikea hack or going full luxury, save these makeup vanity ideas for your next bedroom or bathroom refresh.
Here’s my problem: I own approximately 47 lipsticks, 12 palettes, more brushes than any human needs, and until six months ago, all of it lived in a bathroom drawer that was basically a black hole.
I’d be running late, digging through the chaos trying to find one specific eyeliner, and by the time I found it I’d already knocked three other things onto the floor. Getting ready felt like a scavenger hunt every single day.
So I finally admitted I needed an actual makeup vanity – a dedicated spot with real lighting, real storage, and enough surface area to see what I actually own. Turns out, having a proper vanity setup doesn’t just look good (though it does). It genuinely makes getting ready faster and way less stressful. These are the makeup vanity ideas I’ve been obsessing over, pulling from, and in some cases straight-up copying.
Backlit Floating Shelves for Display Storage
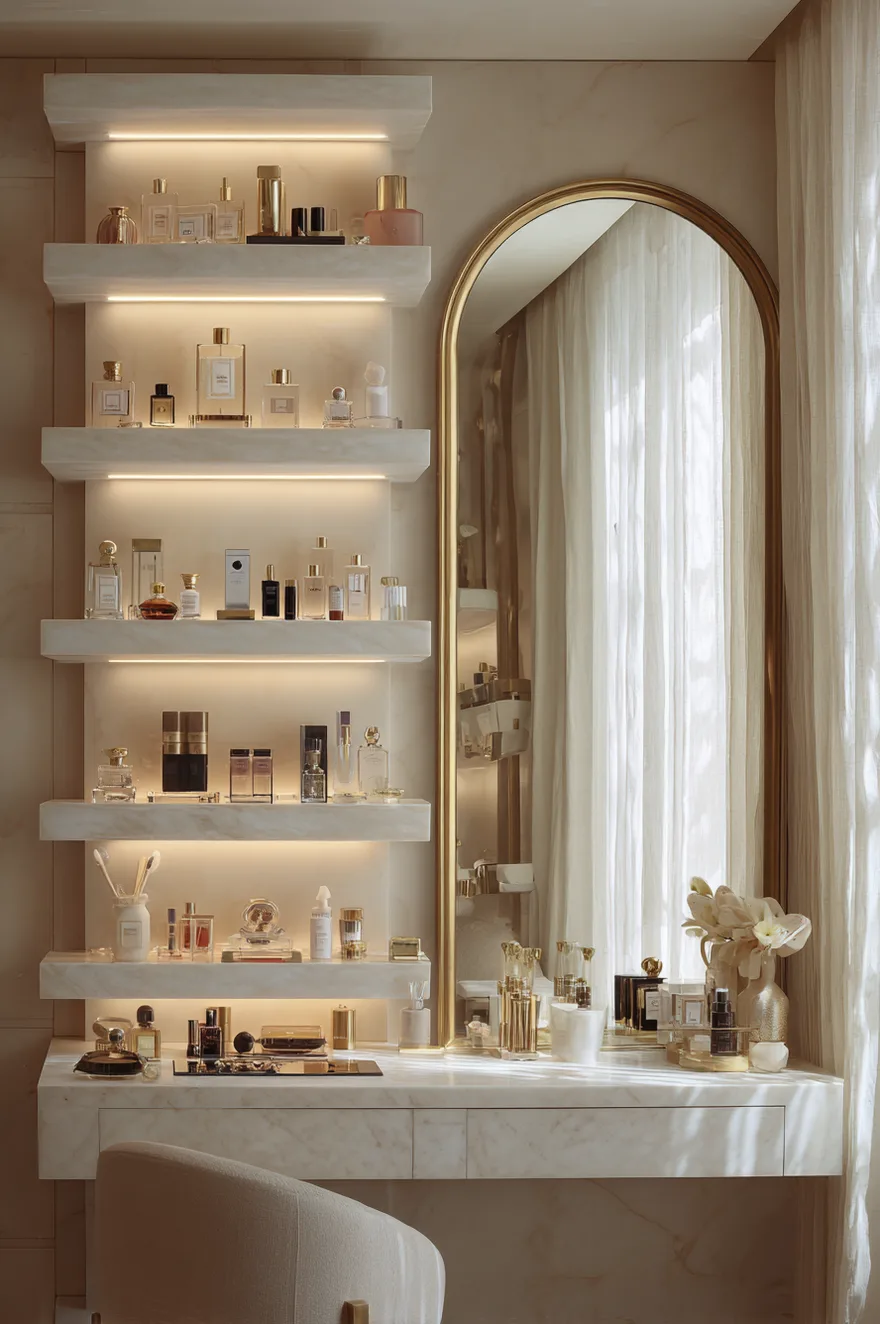
Okay, this is the setup that made me realize vanities could be actually beautiful and not just functional. Floating shelves with LED strip lighting behind them, mounted on the wall next to your mirror.
You display your prettiest products – the perfume bottles, the fancy skincare, the palettes you actually want to look at. Everything else goes in the drawers below. The backlighting makes it look like a boutique, and honestly? It makes me way more likely to actually use the stuff I own instead of forgetting about it.
I’m planning to DIY this with simple white shelves from Home Depot (around $15 each) and adhesive LED strips (about $20 for 16 feet on Amazon). Total cost for four shelves with lighting: maybe $80-100.
Built-In Drawer Organizers That Actually Work
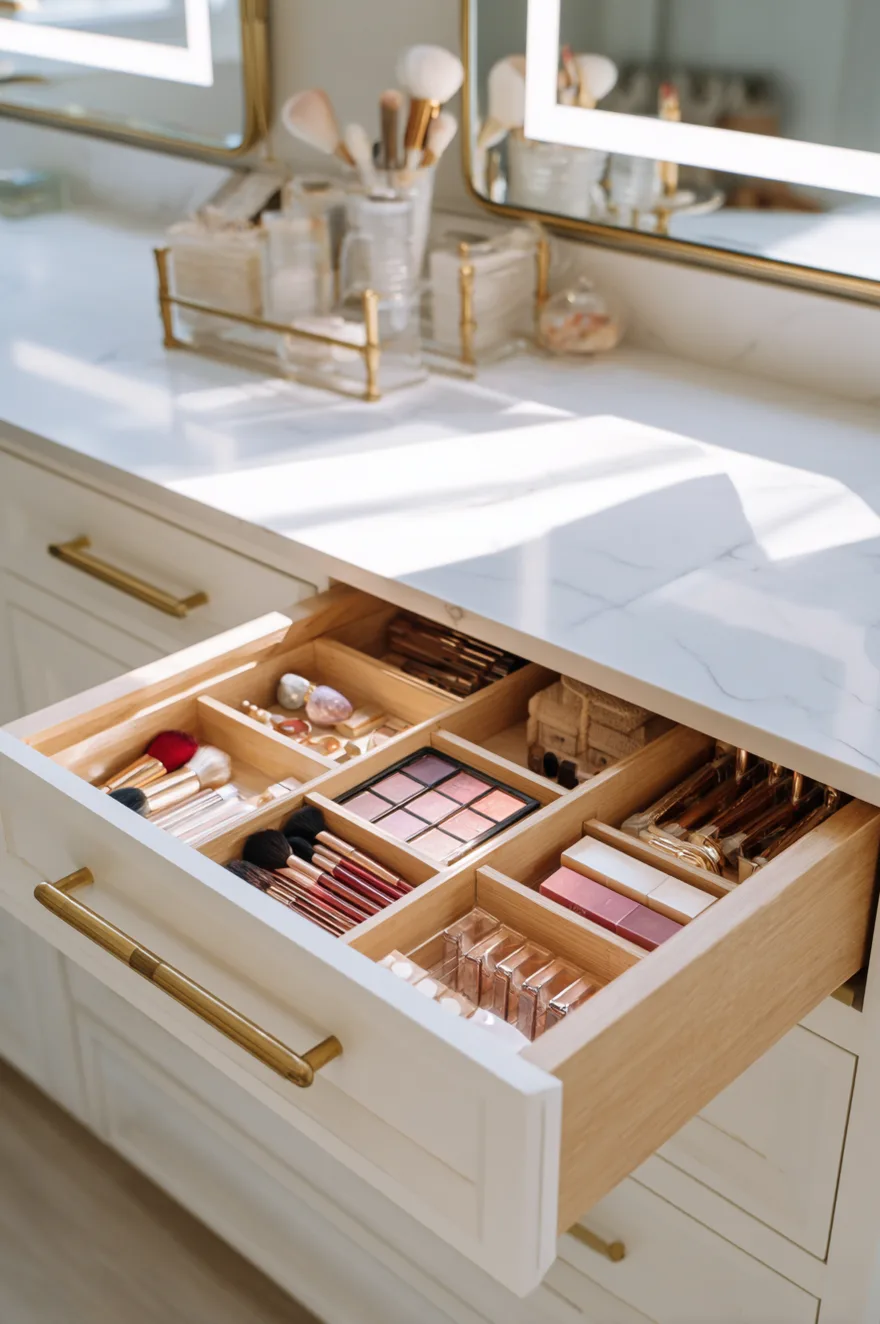
The difference between a vanity that stays organized and one that turns into chaos in three weeks? Drawer dividers.
I bought a set of acrylic organizers from Amazon – the expandable kind that you can customize to fit your drawer size. Cost me about $35 for enough to do three drawers. Now my lipsticks stand upright in one section, brushes in another, palettes stacked neatly in the back.
The key is getting organizers BEFORE you fill the drawers. If you just toss everything in and promise yourself you’ll organize later, it’s never happening. Trust me on this one.
Arched Mirrors with Integrated Lighting
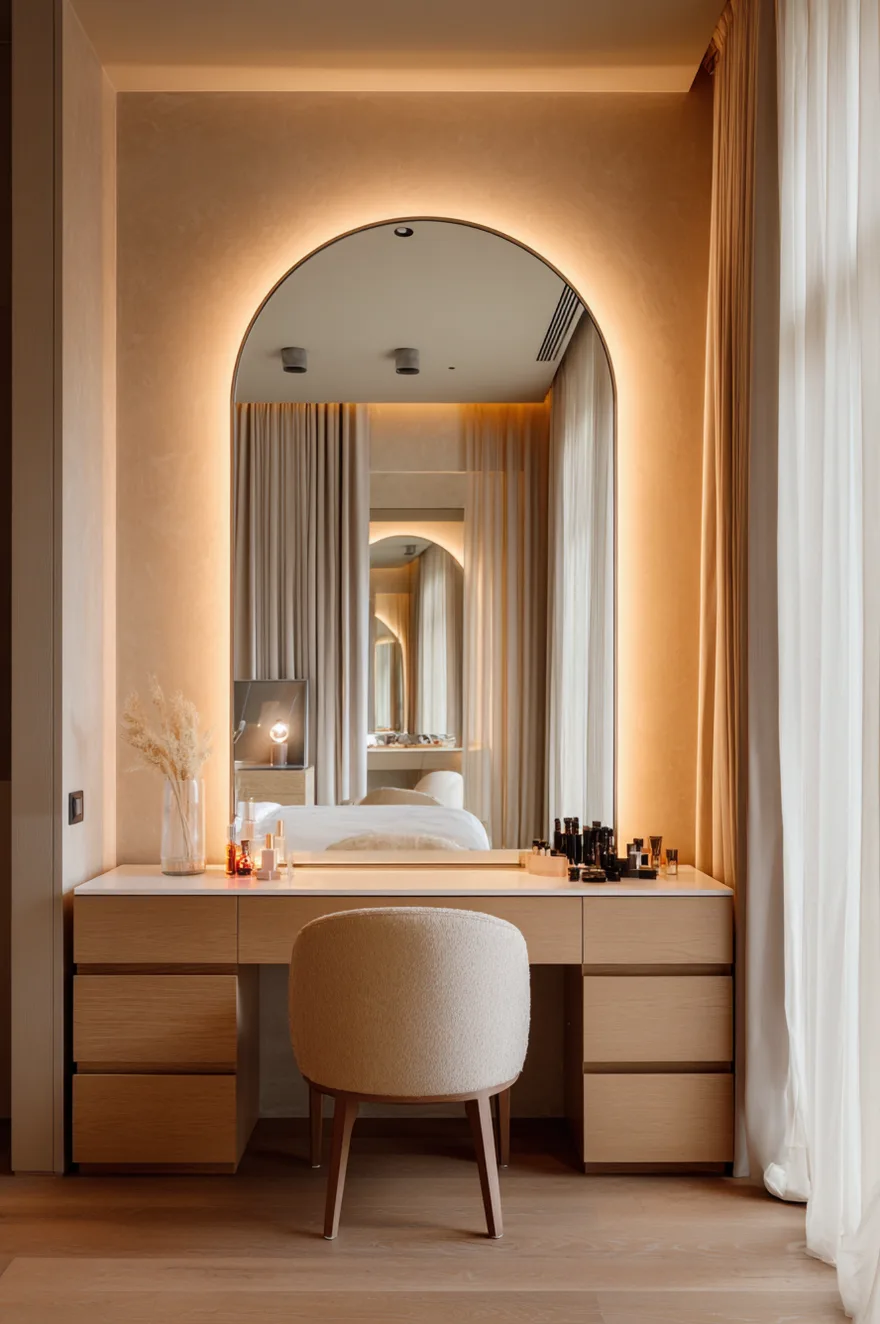
I used to do my makeup in front of a regular bathroom mirror with overhead lighting. Then I saw one of these arched backlit mirrors and realized I’d been living in the dark ages.
The built-in LED ring gives you even, shadowless light – like ring light for your face but permanently mounted. And the arch shape? It just looks more intentional than a rectangle. I found one on Amazon for $180 (24×36 inches) that plugs in, so no hardwiring required.
The difference in how your makeup looks in natural light versus how it looked in your vanity lighting matters. These mirrors get you closer to daylight accuracy.
Corner Vanities for Awkward Spaces
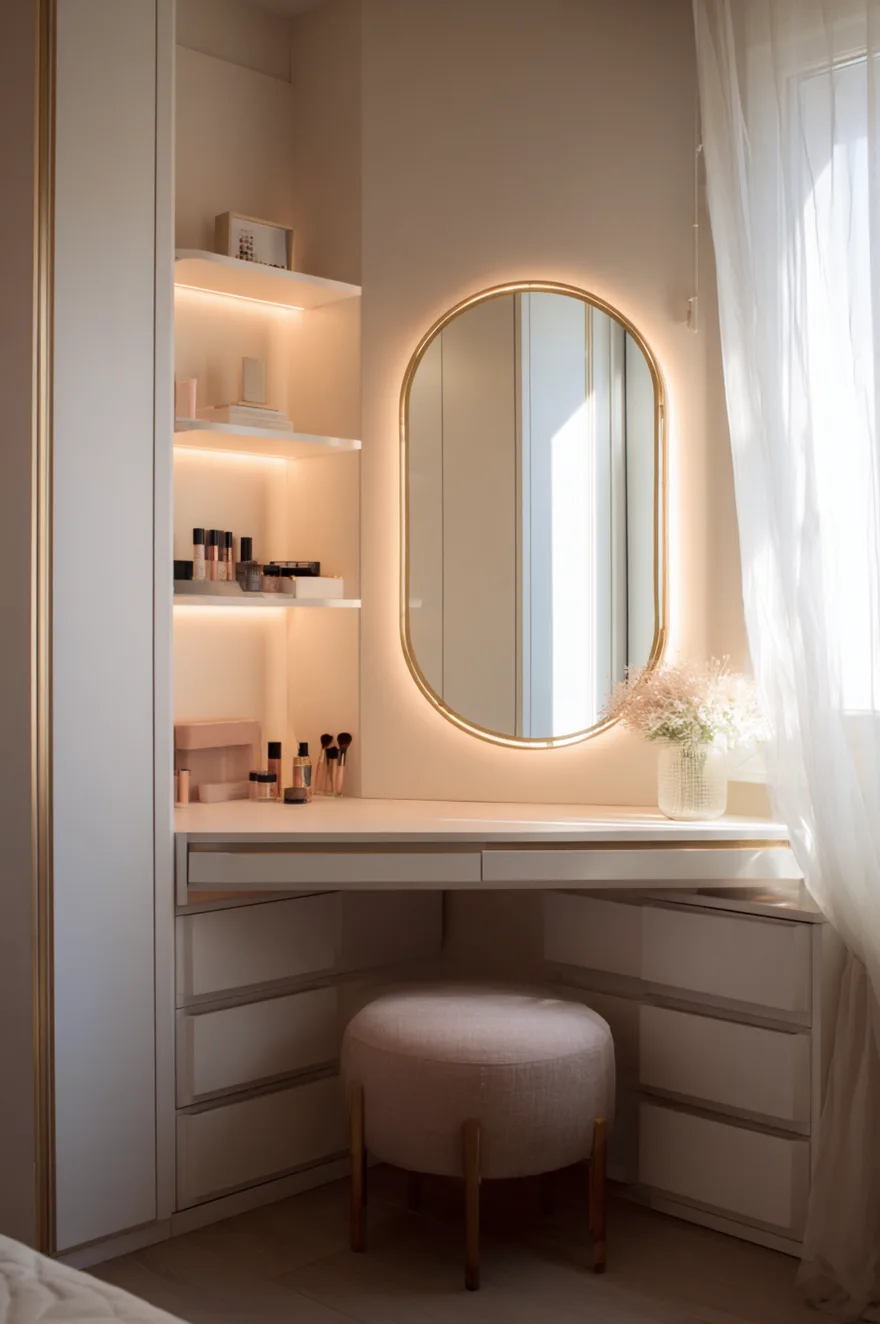
If you don’t have a full wall to dedicate to a vanity, corner setups are genius. They use space that’s usually wasted and can fit in bedrooms that are tight on square footage.
I almost did this in our bedroom before we rearranged – there was this dead corner by the window that was just… empty. A corner vanity would’ve been perfect. The triangular or curved desk shape tucks into the angle, and you can still fit a decent-sized mirror and some storage.
IKEA has a corner desk (the Micke corner workstation) for $129 that people hack into vanities all the time. Add a mirror, a cute chair, and some organizers, and you’re done.
The Full Built-In Vanity Wall
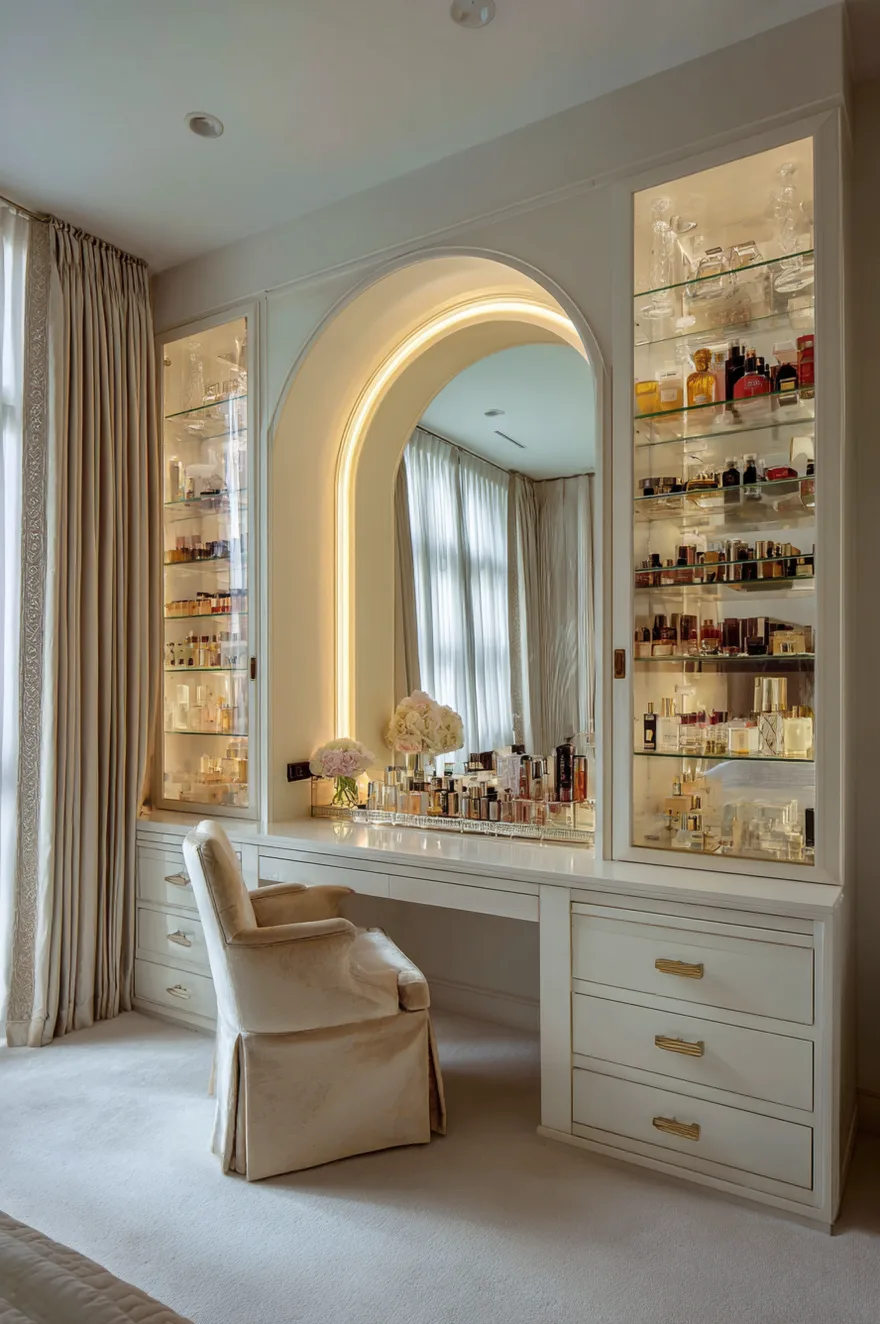
This is the dream setup. Like, if I could redo our bedroom from scratch, this is what I’d do – a full built-in vanity spanning one entire wall with storage on both sides.
Central mirror, vanity desk in the middle, floor-to-ceiling cabinets or shelving flanking each side. Some closed storage for the stuff you don’t want visible, some open shelves for display. It looks like custom millwork but you can actually achieve a similar look with IKEA PAX wardrobes on the sides and a floating desk between them.
Obviously this is the most expensive option (probably $800-1500 depending on how you do it), but if you have the wall space and the budget, it’s basically a built-in beauty closet.
Velvet or Upholstered Swivel Chairs
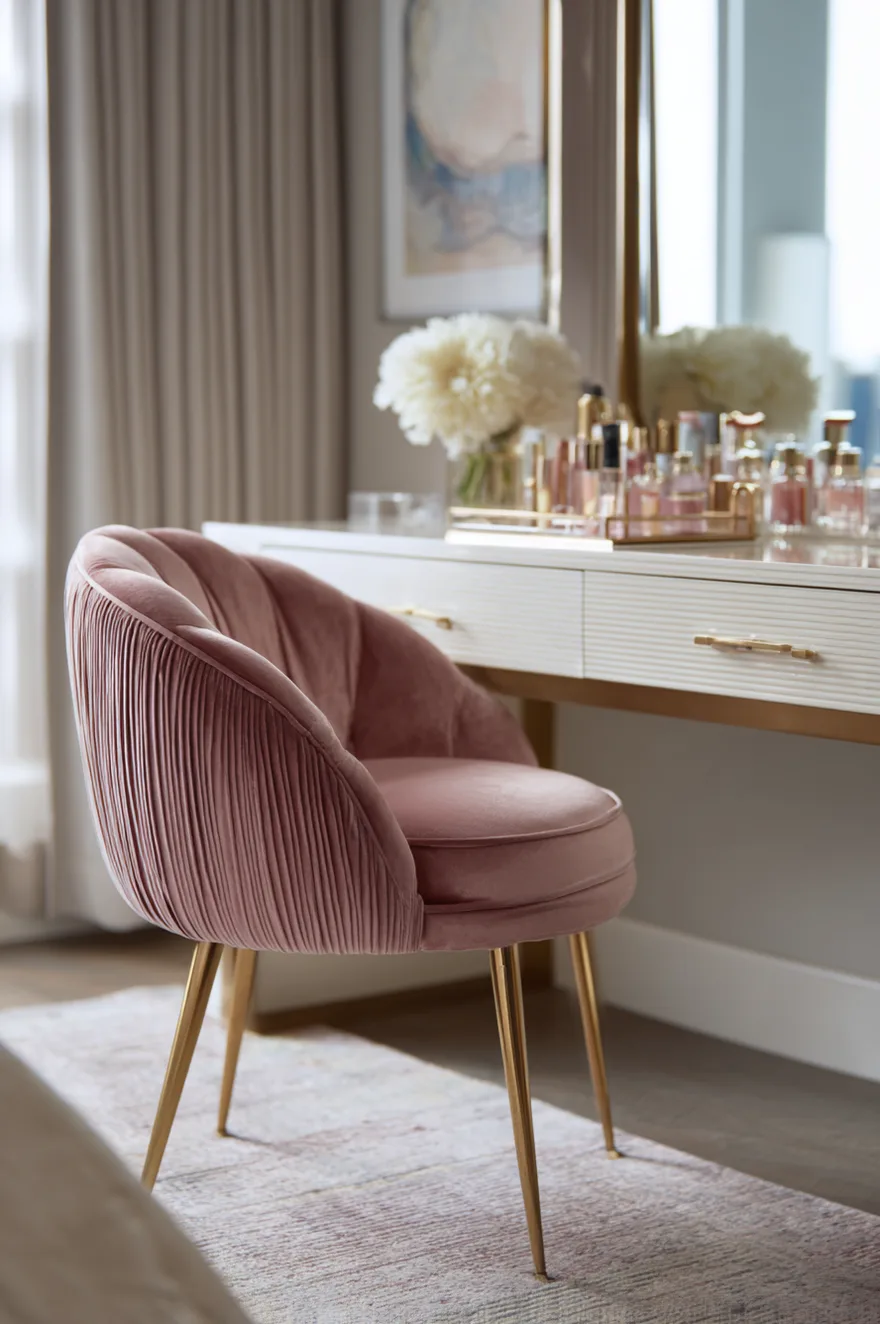
Can we talk about vanity chairs for a second? Because the chair matters more than I thought it would.
I bought a cheap wooden stool first. It looked cute but after sitting on it for 20 minutes doing a full face, my back hurt. Then I upgraded to an upholstered swivel chair (blush pink velvet from Target, $120 on sale) and wow, the difference.
The swivel lets you turn to grab things without getting up. The cushioning means you can actually sit there comfortably. And if you get one with a low back, it tucks under the desk nicely. 10/10 would recommend spending a little more on the chair.
Marble or Quartz Countertops That Look Expensive
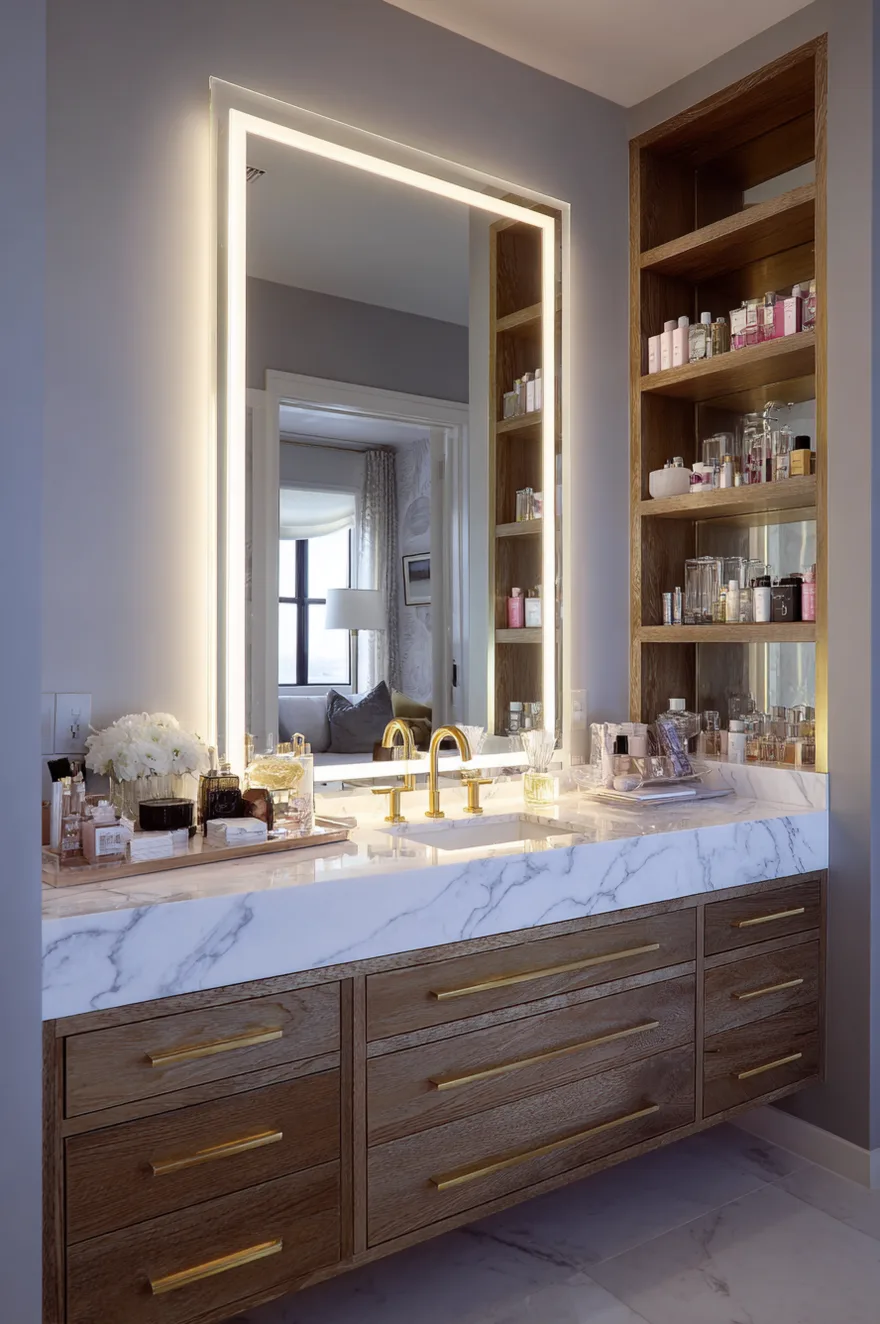
If you’re building or renovating a vanity, the countertop material makes a huge visual difference. Marble or quartz immediately elevates the whole thing.
Real marble is pricey ($50-100 per square foot installed), but quartz that looks like marble runs $40-80 per square foot and it’s way more durable. No staining, no sealing, just wipe and go.
I’m planning to use a white quartz with subtle grey veining for ours – it’ll pair with the natural wood drawers and look clean without being stark. If you’re on a tighter budget, even a laminate countertop in a marble finish (like the ones from Home Depot for $30-50) still looks pretty good from a few feet away.
Wall-Mounted Floating Vanities Save Floor Space
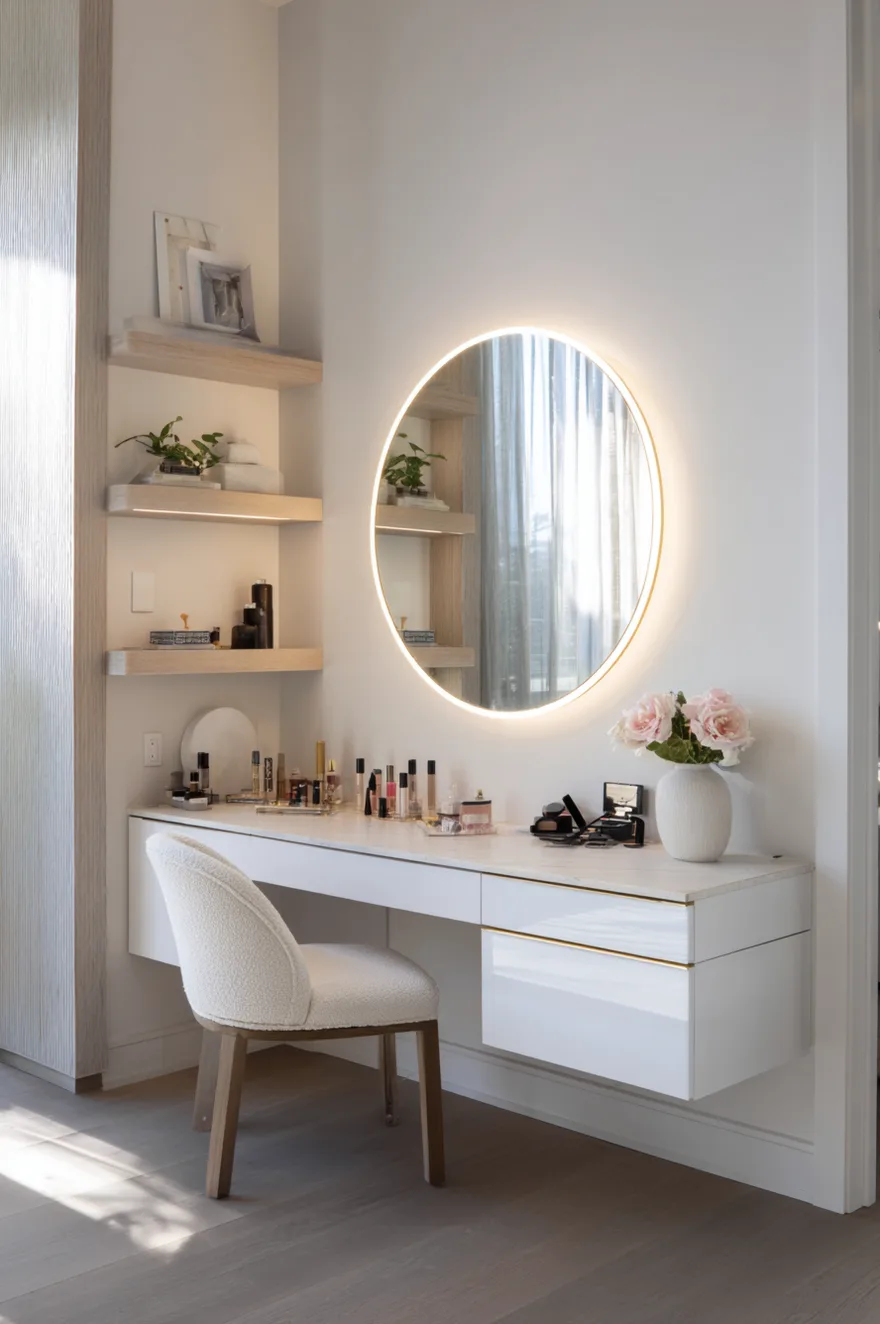
Floating vanities look modern and they make small rooms feel bigger because you can see the floor underneath. Plus, cleaning is easier when there are no legs or base to work around.
The trick with floating vanities is making sure they’re anchored into studs – you don’t want a bunch of makeup and skincare pulling the whole thing off the wall. If you’re DIYing it, use heavy-duty brackets rated for at least 50 pounds per shelf.
I’ve seen beautiful floating setups using a simple IKEA countertop (like the Ekby series) mounted with concealed brackets. Add a couple of drawers or baskets underneath if you need more storage, but keep it minimal. That’s the whole point.
Black Accent Vanities for Contrast
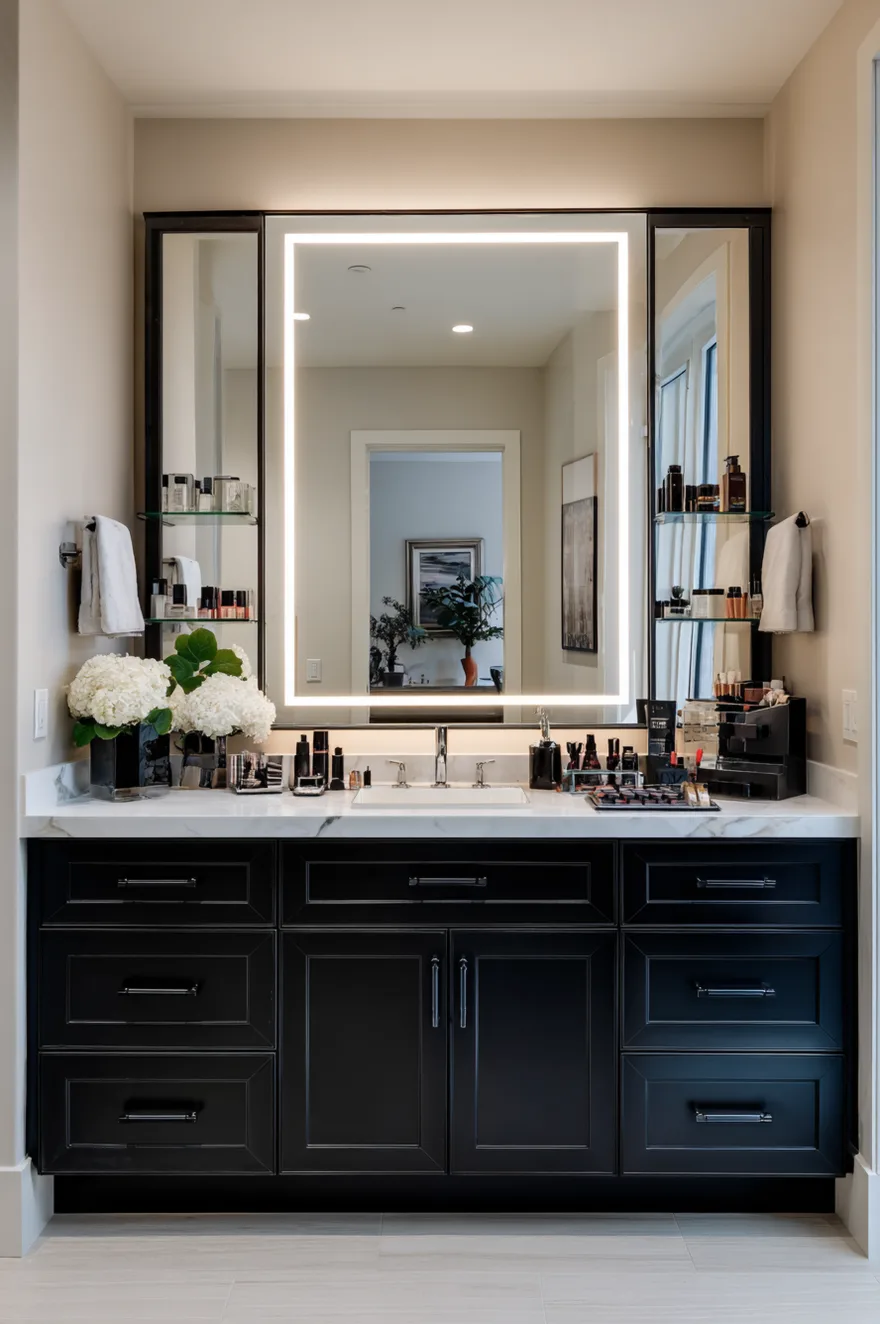
Not everything has to be white and blush pink. I’m seeing more black vanities lately – matte black cabinets, black hardware, black framed mirrors – and the contrast against light walls is so sharp.
It works especially well if you want a more modern or even slightly masculine vibe. And honestly? Black hides dust and wear better than white ever will.
You can buy a black vanity ready-made (West Elm has some gorgeous ones starting around $600), or you can paint an existing piece with matte black cabinet paint. I used Benjamin Moore Advance in Black when we repainted our bathroom vanity and it’s held up perfectly for two years.
Open Shelf Vanities for Visual Lightness
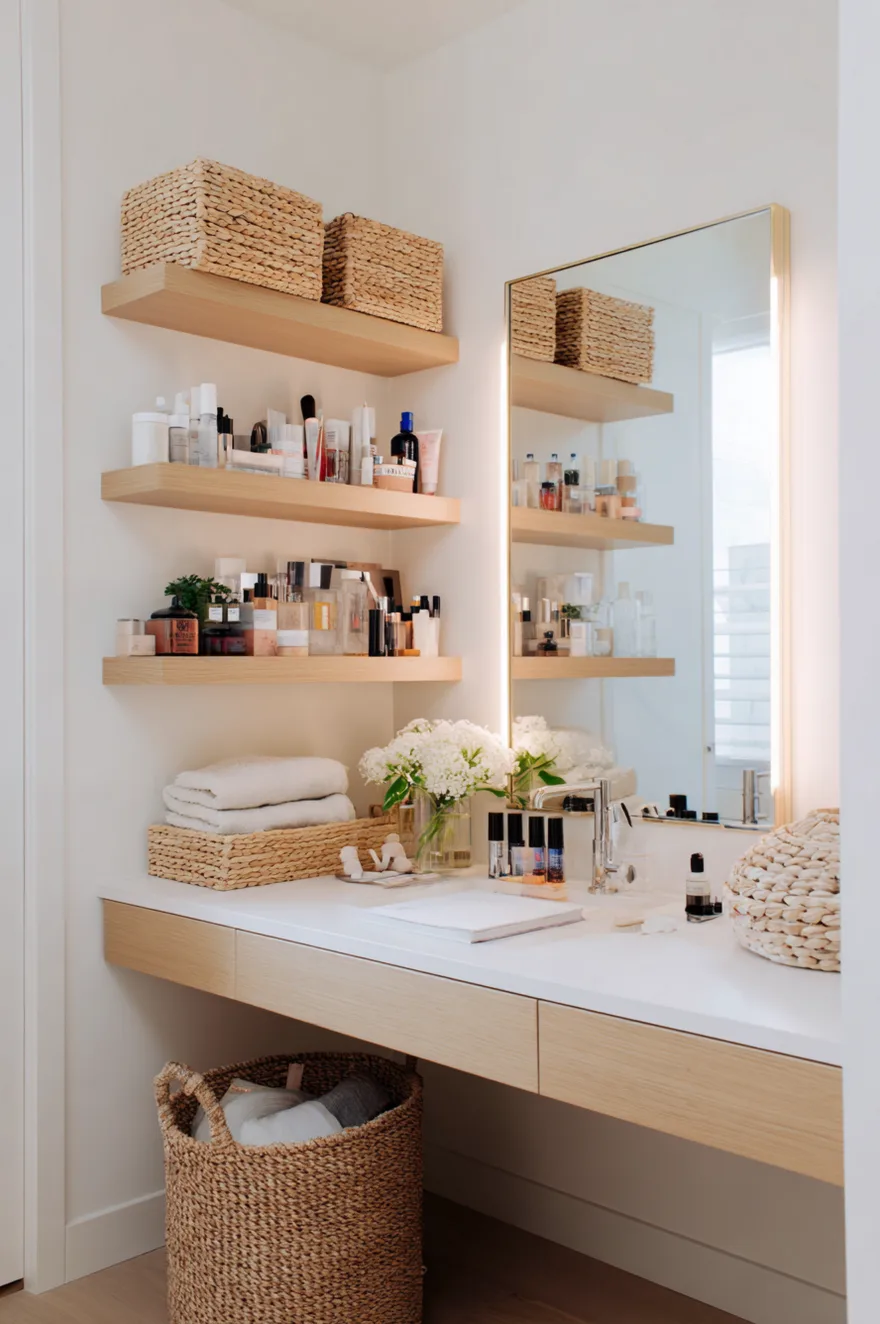
If closed storage makes you feel claustrophobic or you like being able to see everything you own, open shelf vanities might be your move.
I’m talking about a desk with open cubbies underneath instead of drawers. You can use baskets or bins to contain smaller items, but the overall look is airy and accessible. It’s also usually cheaper to build or buy since there’s no drawer hardware involved.
The downside is you have to keep it looking tidy because everything is visible. But if you’re good about putting things back (or you like the “styled” look), it’s a vibe.
Luxury Vanities with Gold or Brass Details

Okay, if we’re going full luxury aesthetic – which honestly, why not – gold or brass details make everything feel more expensive.
Brass drawer pulls. Gold mirror frames. Brass legs on the chair. Gold trays holding your perfumes. Even brass light fixtures mounted on either side of the mirror. The warm metal reads as high-end without being flashy.
I sourced brass cabinet pulls from Rejuvenation (around $12 each) and swapped out the basic chrome ones that came with our vanity. That alone made it look three times more expensive. Small detail, big impact.
Small Space Vanities Under 30 Inches
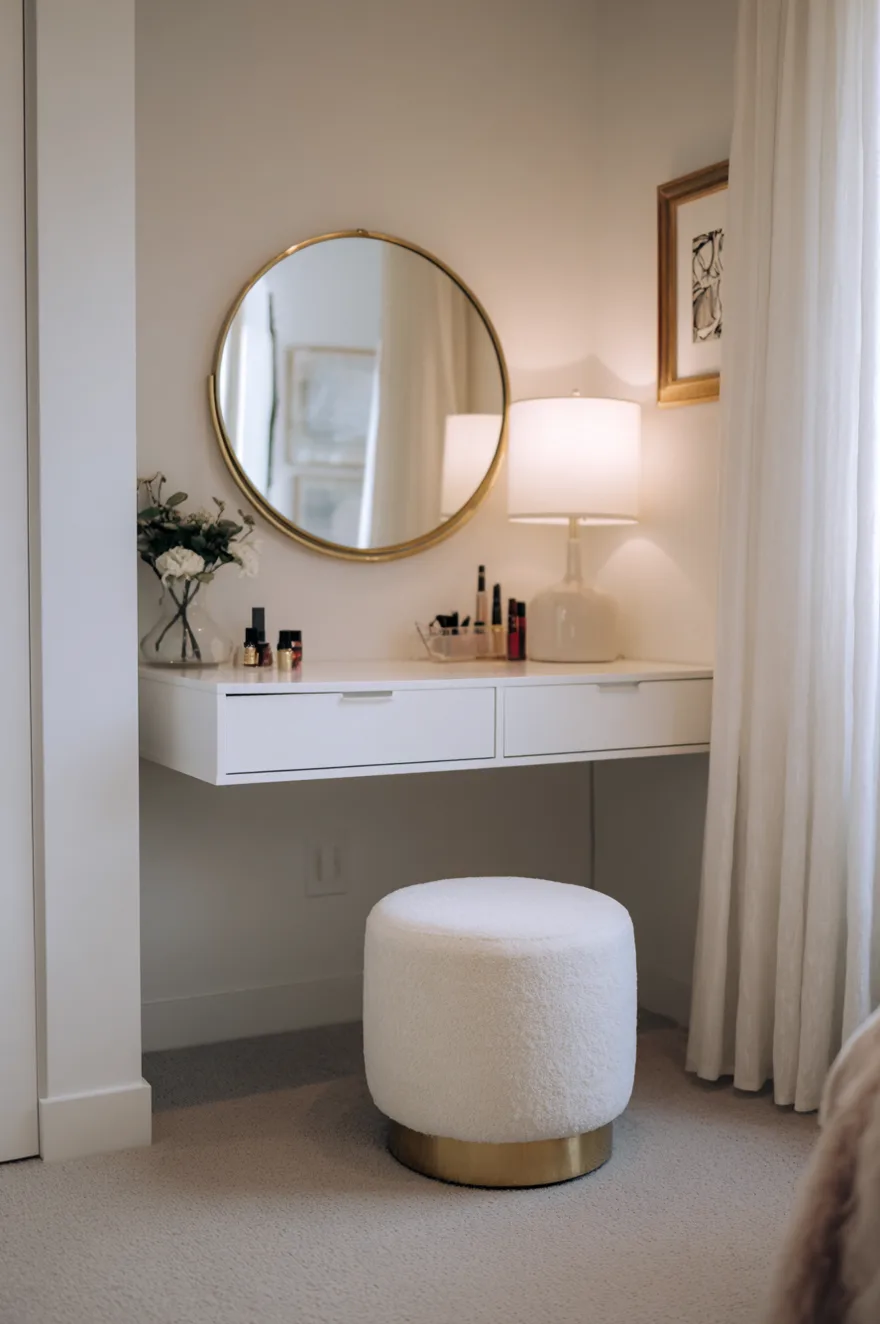
Not everyone has room for a sprawling vanity setup. If your bedroom or bathroom is tight, a compact vanity under 30 inches wide can still be totally functional.
Look for narrow desks or console tables – they don’t have to be marketed as vanities. I’ve seen people use entryway consoles, small writing desks, even IKEA Lack tables ($20) with a mirror propped on top. Add a wall-mounted mirror, a small stool that tucks underneath, and you’re set.
The key is vertical storage – use the wall above the desk for shelves or a medicine cabinet to make up for the lack of surface area.
White Glossy Vanities for a Clean Look
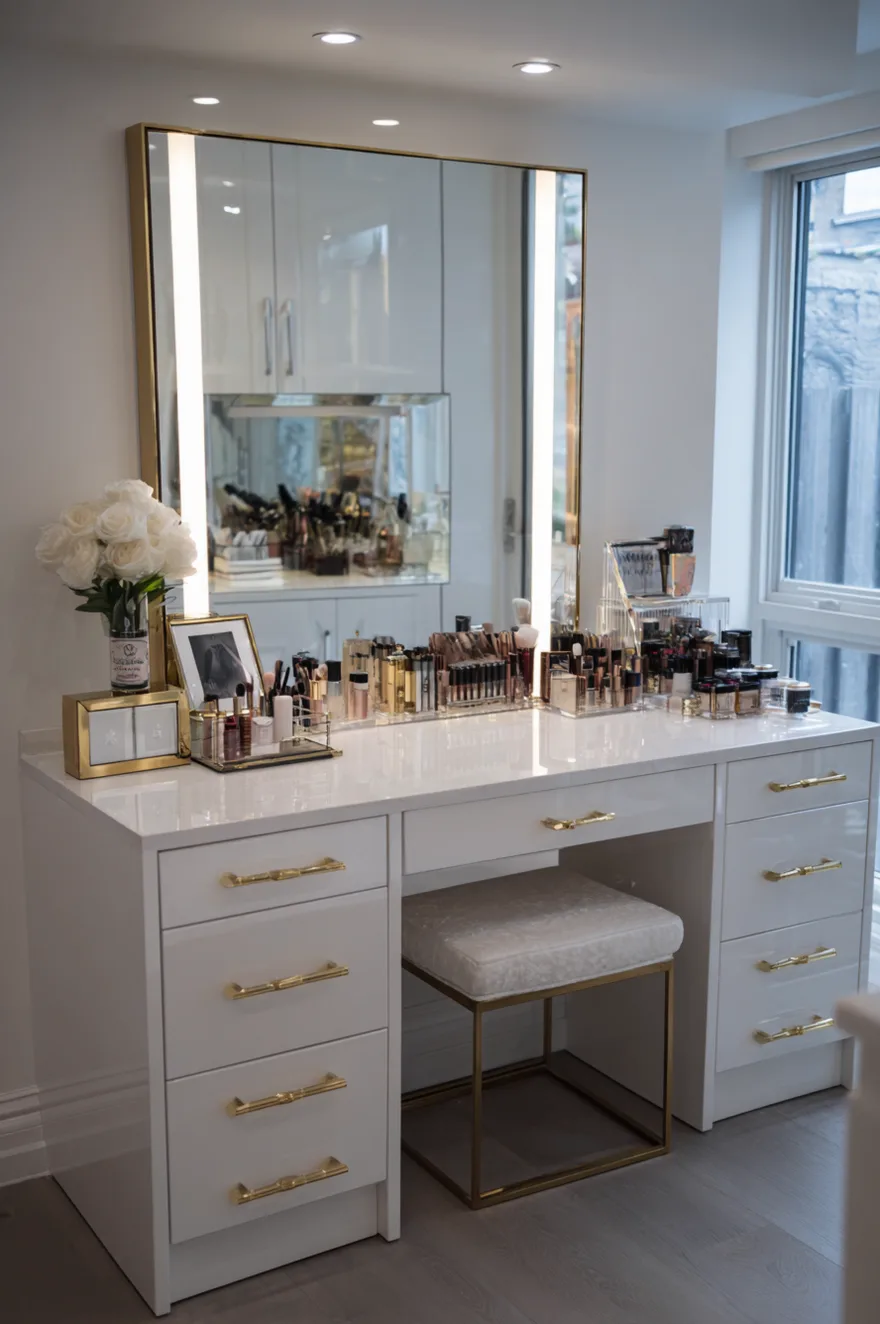
High-gloss white finishes are having a moment. They photograph beautifully, they reflect light (which makes rooms feel bigger), and they give off that sleek, modern, almost futuristic vibe.
The downside? Fingerprints. You will see every smudge. But if you’re okay with wiping things down regularly (or you’re just not a smudgy person), glossy white cabinets look incredibly polished.
IKEA’s Godmorgon series comes in high-gloss white and it’s pretty affordable (vanity units start around $200). Or you can get any cabinet doors painted or wrapped in glossy white finish at a cabinet shop.
Natural Wood Vanities That Feel Warm
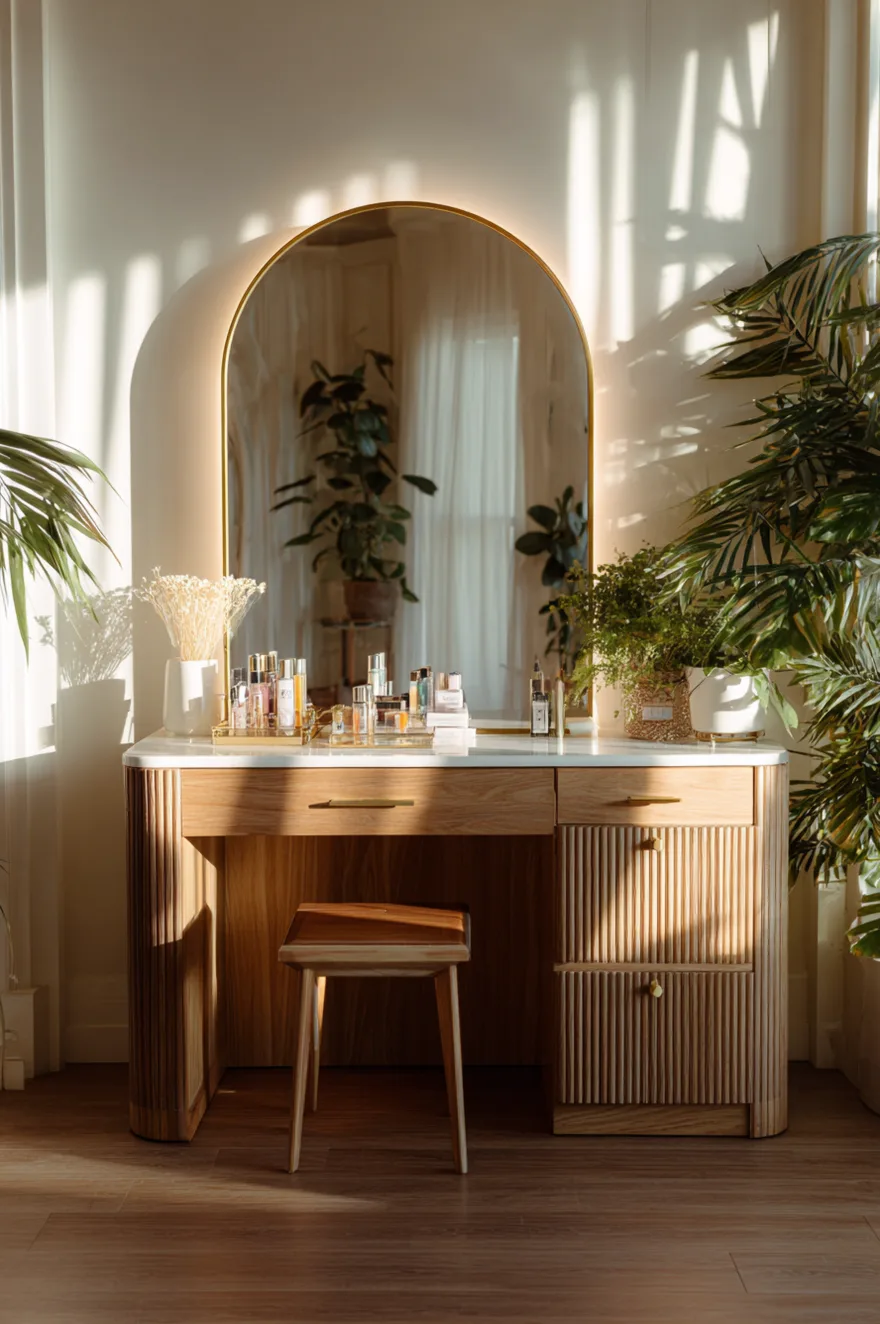
If all-white feels too sterile for you, natural wood vanities bring warmth and texture without sacrificing the modern look.
Light oak, walnut, or even raw unfinished wood – paired with white countertops and neutral walls, it feels organic and grounded. I’m partial to light wood with visible grain because it hides scratches better and doesn’t show dust as much as dark finishes.
You can find ready-made wood vanities at West Elm, Article, or CB2 (prices range $400-1000), or build one yourself using butcher block countertops from IKEA or Home Depot mounted on simple drawer units.
Integrated Jewelry Storage in Drawers
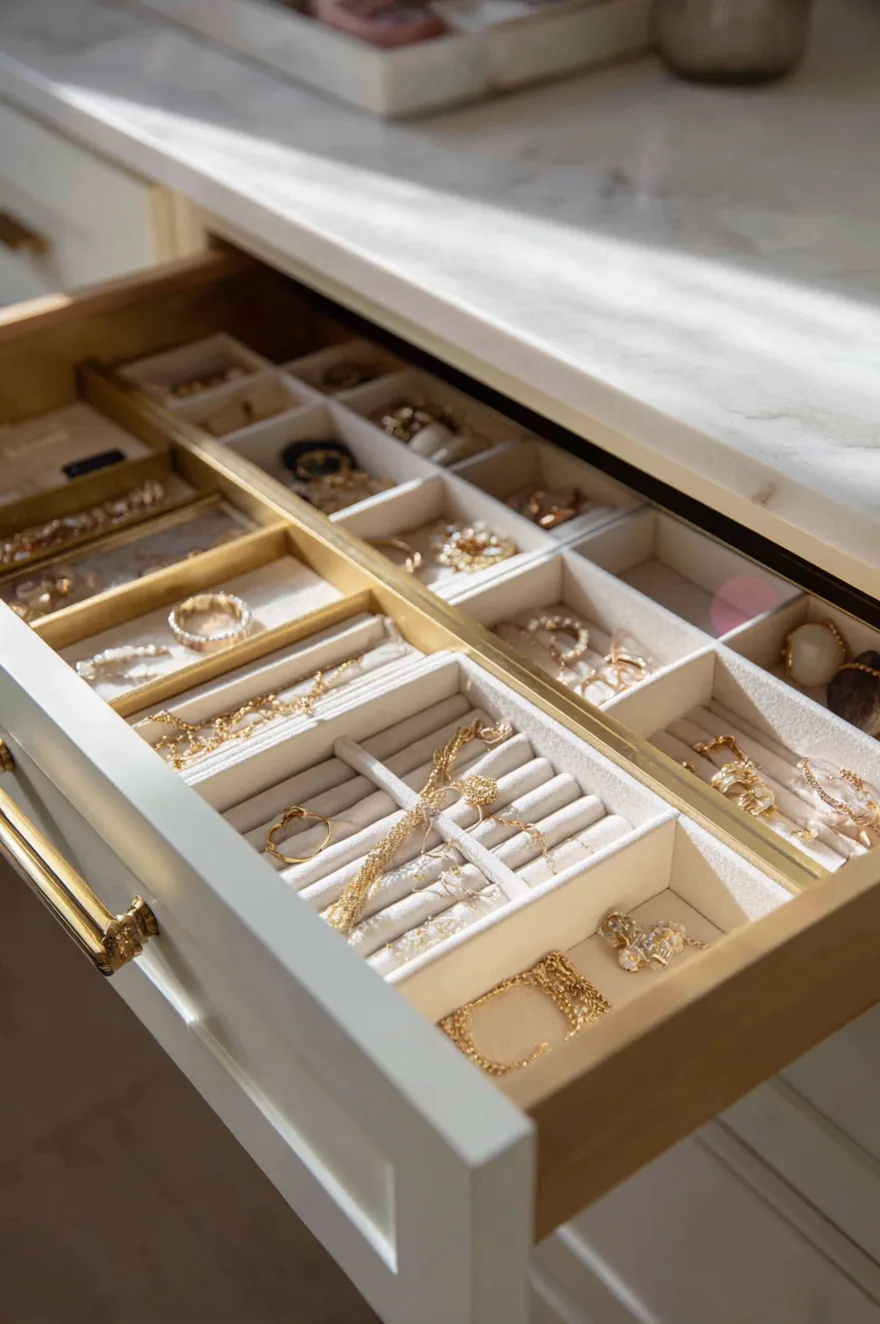
One thing I didn’t think about until after I set up my vanity: where do I put my jewelry? It was living in a tangled mess in a dish on my dresser.
Now I’ve seen vanities with shallow jewelry drawers – lined in velvet or suede, with individual compartments for rings, earrings, necklaces. Some even have built-in ring holders or necklace hooks.
You can retrofit this pretty easily. Get a velvet drawer liner (Amazon, $15) and add small acrylic dividers or a jewelry tray insert. Or go full custom and have a jeweler’s drawer built in if you’re doing a renovation. Game changer for keeping things untangled and actually visible.
Vanities with Side Cabinets for Full Storage
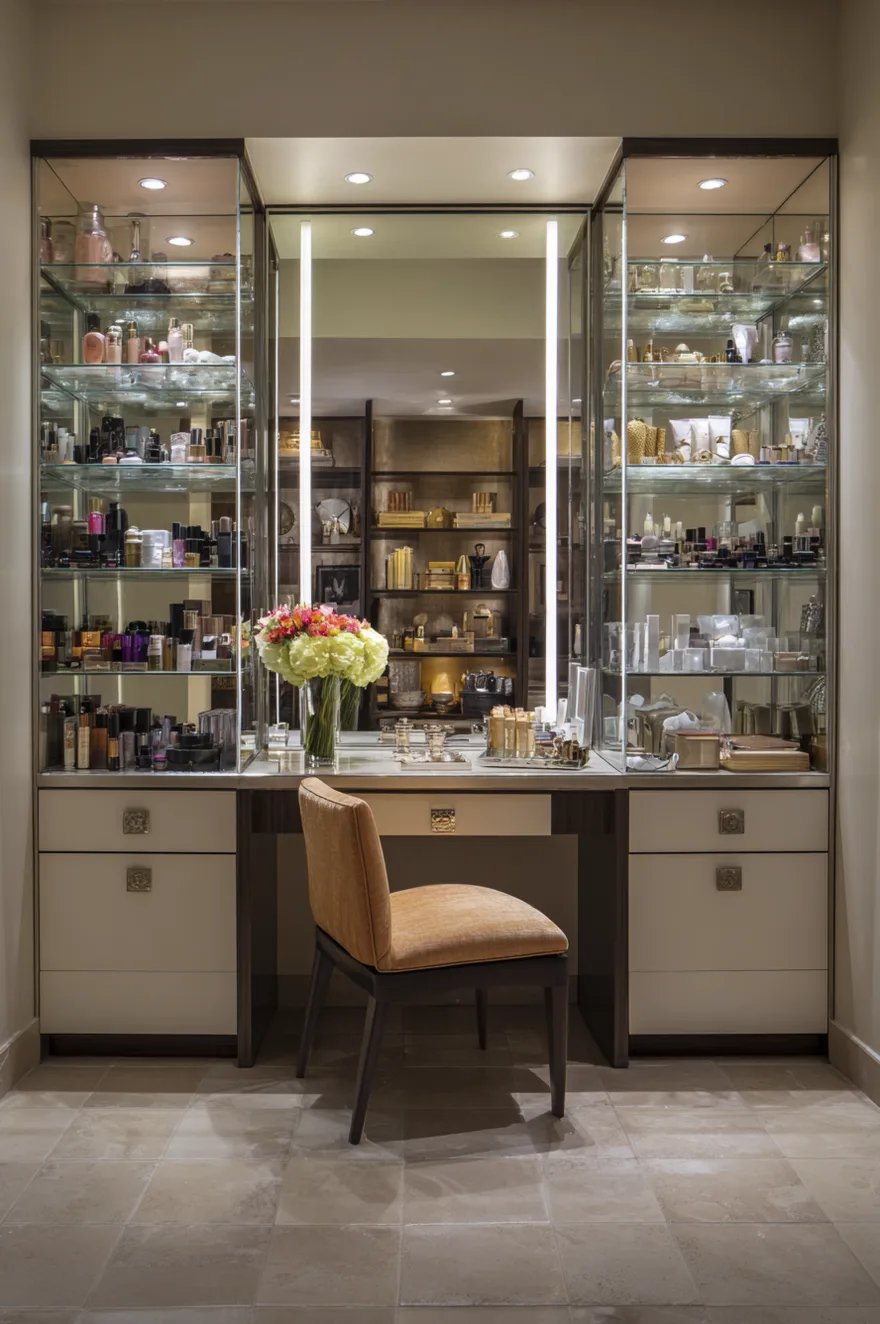
If you have a lot of stuff – and I mean a LOT – a vanity with full side cabinets or a hutch-style setup might be what you need.
Think of it like a desk with a bookshelf on one or both sides. The central area is your workspace with the mirror, and the cabinets hold backup products, hair tools, extra towels, whatever overflow you have.
This works especially well in master bathrooms where you have the wall space. You can even do a combination of open shelving (for pretty things) and closed cabinets (for the less photogenic stuff like cotton rounds and Q-tips in bulk).
Minimalist Vanities with Hidden Storage
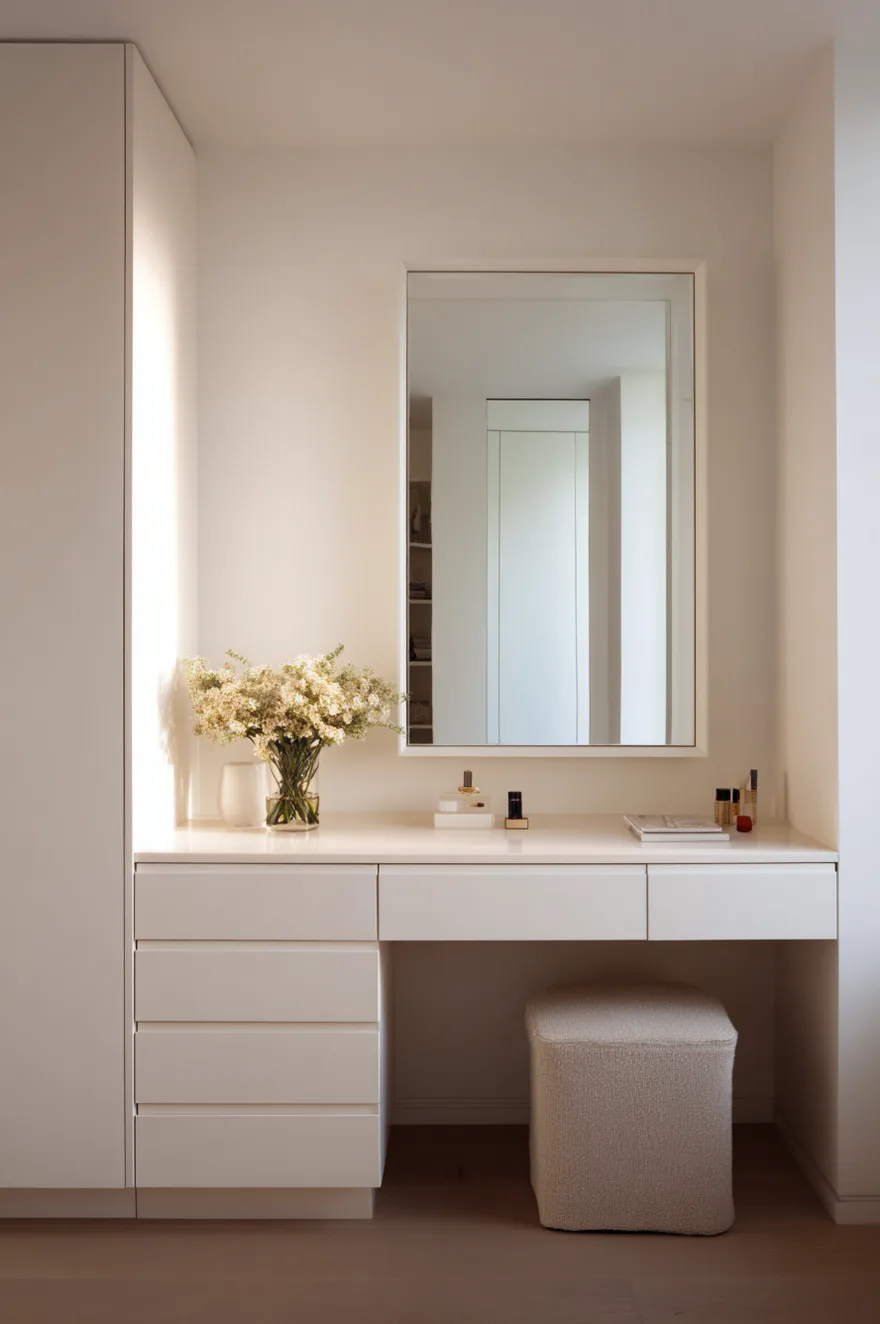
On the flip side, if you want that “I barely own anything” aesthetic but you secretly own a ton of stuff, minimalist vanities with hidden storage are the move.
Clean lines. No visible hardware. Push-to-open drawers. Everything tucked away so the surface stays clear except for maybe one or two beautiful objects.
This is harder to pull off because you actually have to be disciplined about putting things away every time, but when it works, it looks so calm and intentional. IKEA’s Besta series is great for this – you can configure it however you want and add push-open doors.
Ikea Vanity Hacks That Look Custom
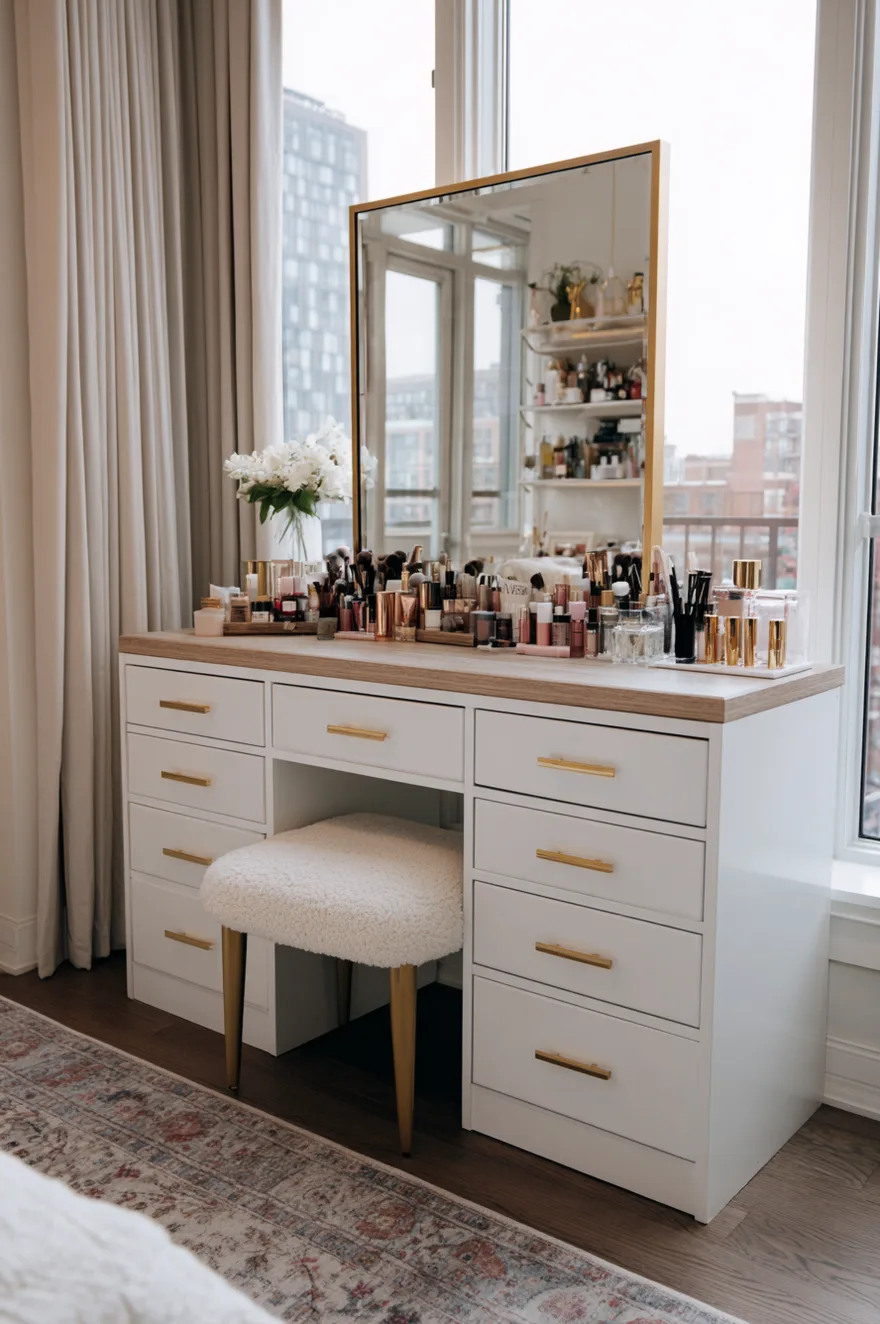
Here’s the secret everyone on Pinterest knows: you can make an Ikea vanity look like a $2,000 custom piece if you know the right hacks.
The most popular combo is the Alex drawers ($90 each) with an Ekby countertop ($30-60) laid across the top. Add legs in the middle if you need more support. Swap out the basic hardware for brass or leather pulls, add a fancy mirror, and suddenly it looks high-end.
I’ve also seen people use the Malm dresser as a vanity base (it’s deeper than the Alex units, so you get more storage), or combine Besta cabinets for a floating wall-mounted setup. The Ikea makeup vanity hack is basically a whole genre at this point, and for good reason – you can get a full setup for under $300.
Antique and Vintage Vanity Makeovers
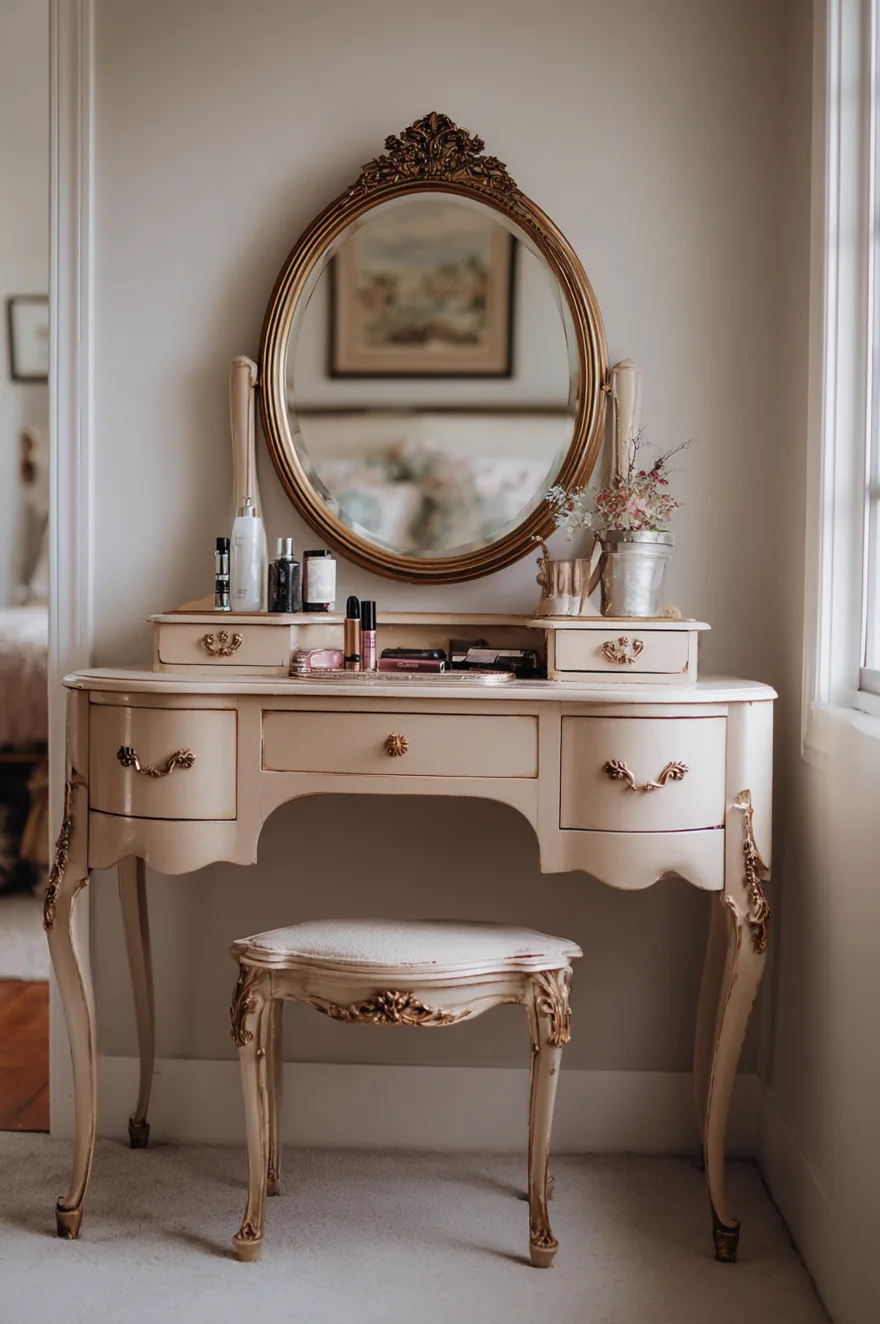
If you want something with character that no one else has, hunt for an antique vanity and refinish it yourself.
I found a 1950s vanity at an estate sale for $75 – solid wood construction, beautiful curved legs, but the finish was trashed and the mirror was cloudy. I stripped it, sanded it, painted it in Benjamin Moore Simply White, replaced the mirror, and added new brass hardware. Total project cost maybe $150, and now it’s a one-of-a-kind piece.
The bones of old furniture are usually way better than modern particleboard stuff. You just have to be willing to put in the work. And honestly, refinishing a vanity is a pretty forgiving first furniture project if you’ve never done it before.
Closet Vanities for Hidden Beauty Zones
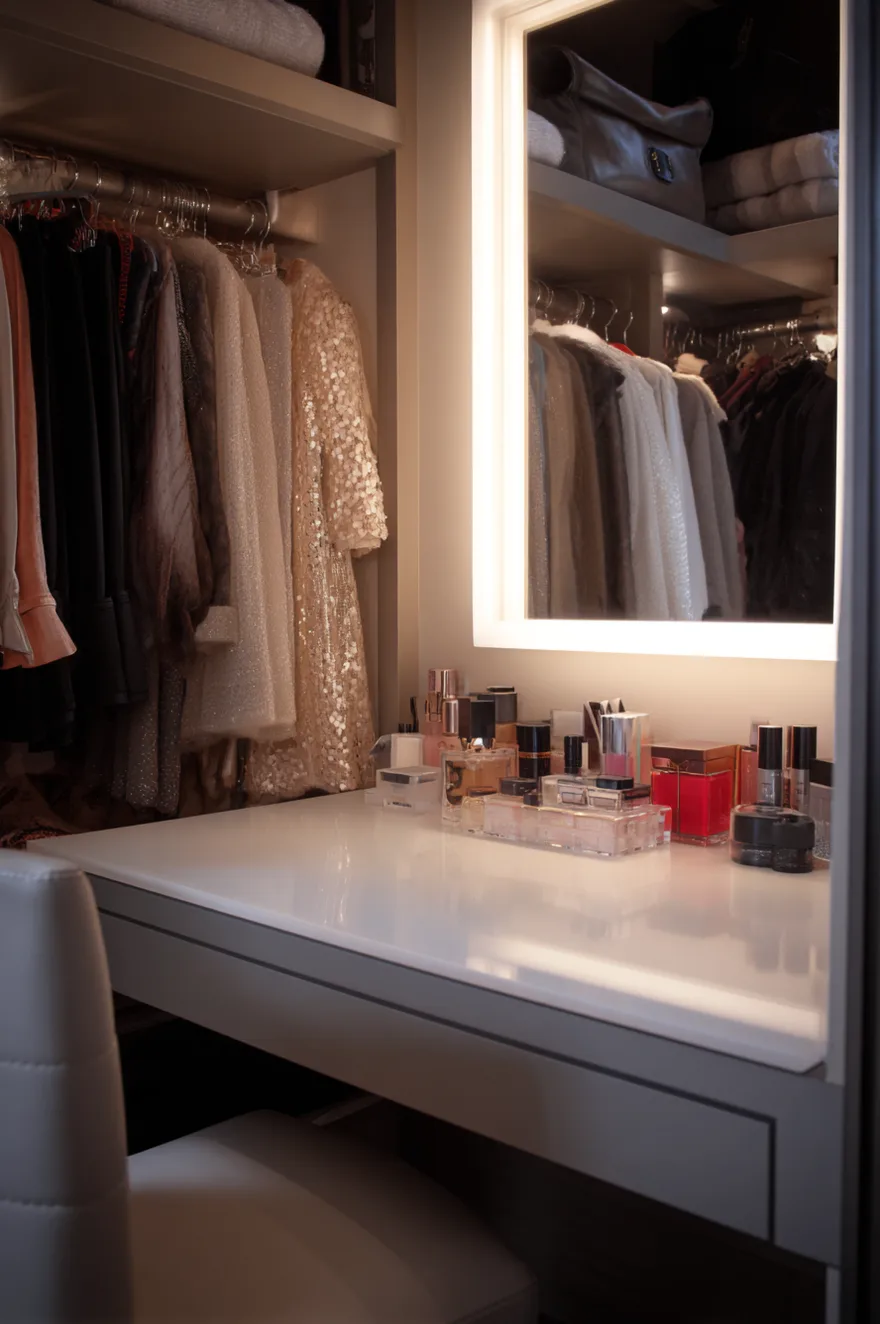
If your bedroom closet is walk-in (or even just decent-sized), you can carve out a vanity area inside it. I’ve seen this done so many times and it’s genius for a few reasons.
One, it keeps all your getting-ready stuff in one place – clothes, shoes, accessories, and makeup all together. Two, if you have kids or pets who get into things, you can close the closet door and everything’s protected. Three, it doesn’t take up visual space in your actual bedroom.
You can do a simple floating shelf with a mirror, or go full built-in with drawers and lighting. Some people even add a small stool that slides under the counter. The closet vanity setup is especially great if your bedroom is small but your closet has extra wall space.
Double Sink Vanities with Makeup Counter
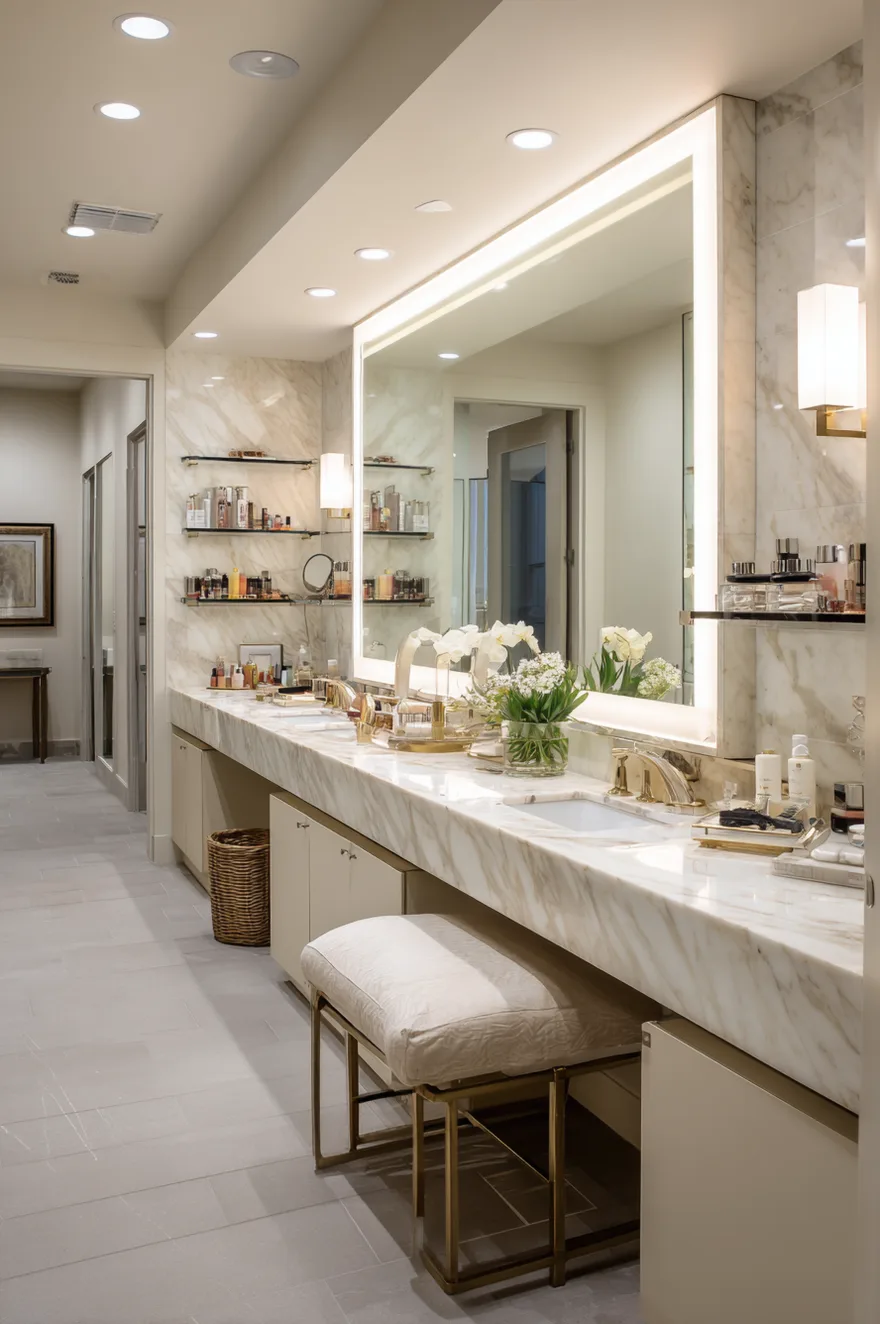
For master bathrooms with two sinks, one increasingly popular layout is: sink, makeup counter section in the middle with a mirror, then the second sink.
This way one person can be brushing their teeth while the other is doing makeup, and you’re not fighting for mirror space. The middle section usually has drawers underneath and sometimes a stool that tucks away.
We don’t have room for this configuration (our bathroom is too narrow), but I’ve seen it in newer homes and it makes so much sense. If you’re doing a bathroom reno and have the space, it’s worth considering. The middle makeup zone typically needs about 30-36 inches of counter width to be functional.
That’s the list. You definitely don’t need to do all 21 of these – figure out what your actual pain points are (storage? lighting? space?) and start there.
For me it was the lighting and the drawer chaos. Fixing those two things made the biggest difference.
With love,
Liv